SSH key authorization setup for GitHub & GitLab
Written on
Having spent far too much of my time setting this up for other people and not being able to find a single simple source which satisfies my own standards I have decided to sit down and write a tutorial for how to setup SSH keys for git authentication. I am going to write this tutorial from a Windows perspective, in Powershell, using unix commands, because this should translate best to the largest range of environments. If you already know how to use a different system, even better. Just translate everything I am about to say to your environment.
Firstly, lets get a key pair setup on the machine you want to connect from. Open Powershell from the Start menu and navigate to your users home directory. This is the main area where all user specific files are stored in your operating system. On Windows, this is C:\Users\<username>\, or /home/<username> if you happen to be using a linux machine and didn't know this already. If you don't know to get there in the terminal, here you go: cd C:\Users\<username>. The character ~ is a shortcut to your Home directory in most terminals, so you can also use cd ~ instead.
Create a new directory, mkdir .ssh and navigate here too: cd .ssh
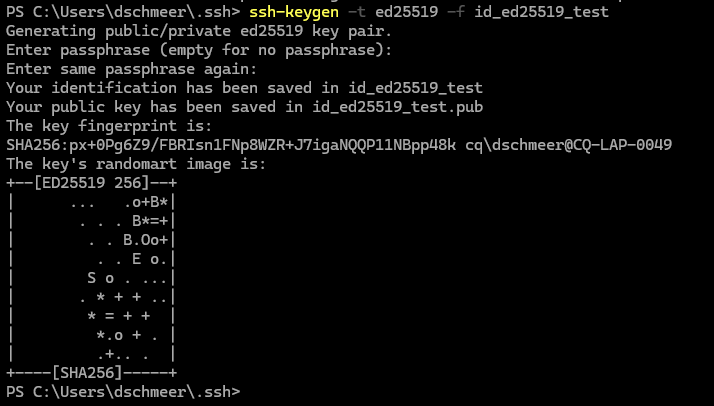
Now comes the fun stuff: we are going to actually create the keys using ssh-keygen. By default, ssh-keygen will create long 'RSA' keys but GitHub and GitLab both recommend changing this format. Running ssh-keygen -t ed25519 -f id_ed25519_<friendly name> will generate the key pair we want. Hit Enter a few times, to skip the passphrase creation step for the keys until you see this screen.
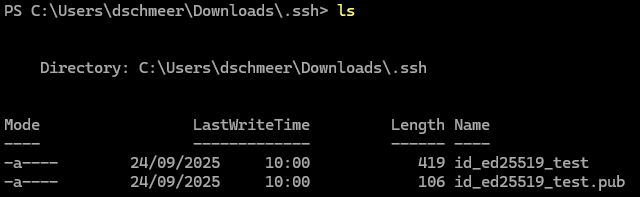
If we look at what has been created in the .ssh folder now, we should see two files:
The next few steps get very specific to which git server you are trying to conneect to. You may be trying to connect to the public GitHub or GitLab servers, or your organisation may have one setup for you to use. In either case the setup process is mostly the same. We will follow through an example now using GitHub but wherever you would change something for a different provider, I will add notes inside <> blocks.
At this point, it is also good to note that if you are trying to setup multiple services, you should setup a keypair for each one.
Okay, next we need to create the configuration file on our system which tells the ssh client which key it should use when trying to connect to a service. In Powershell, we run New-Item -Path "config" -ItemType "File". In Linux, open a new file called config with your favourite commandline text editor. I often recommend nano for beginners: so nano config. Because Windows is rubbish, it doesn't have a command-line text editor. We have to open our new file in Notepad, so go ahead and run notepad config. This should open a notepad window which looks like this:

Copy and paste the following block into this file. If you are setting up connections to multiple server, you will need to copy this block once per server. You can add to this file at any time if you find you need to add a new server connection later on.
Host <server address>
  HostName <server address>
  IdentityFile ~/.ssh/id_ed25519_<friendly name>
For example, my config file looks like this:
Host github.com
  HostName github.com
  IdentityFile ~/.ssh/id_ed25519_github
Host gitlab.companyname.com
  HostName gitlab.companyname.com
  IdentityFile ~/.ssh/id_ed25519_gitlab
You can see I have two sets of keys, one for each service, each with their own friendly names so I can distunguish which key belongs to which service.
Now that the configuration on our system is all set up, we can upload the PUBLIC part of the key (labelled with an extra .pub file extension) to the website of the service we are trying to connect to. It is important that we only upload the public part, otherwise it wont work. NEVER share the private part of the key with anyone.
To upload a key to GitHub, navigate to github.com and go to your User Settings page, which looks like this:
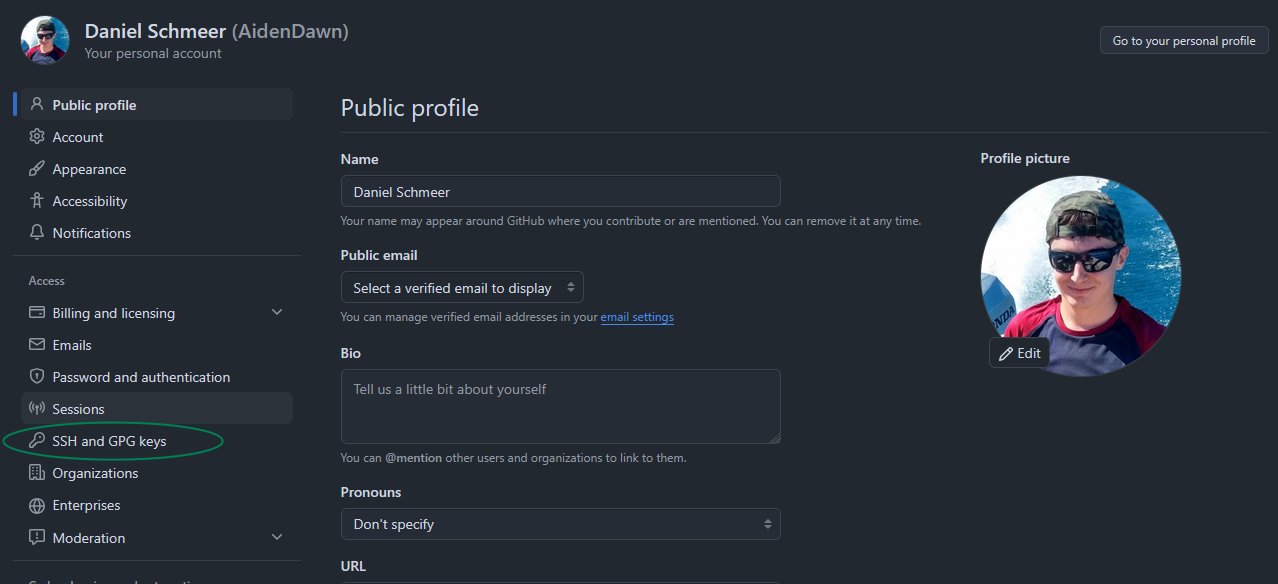 Click on the button called
 SSH and GPG keys. I have circled it in this screenshot. Now click on the button called New SSH key. This will open a page like this:
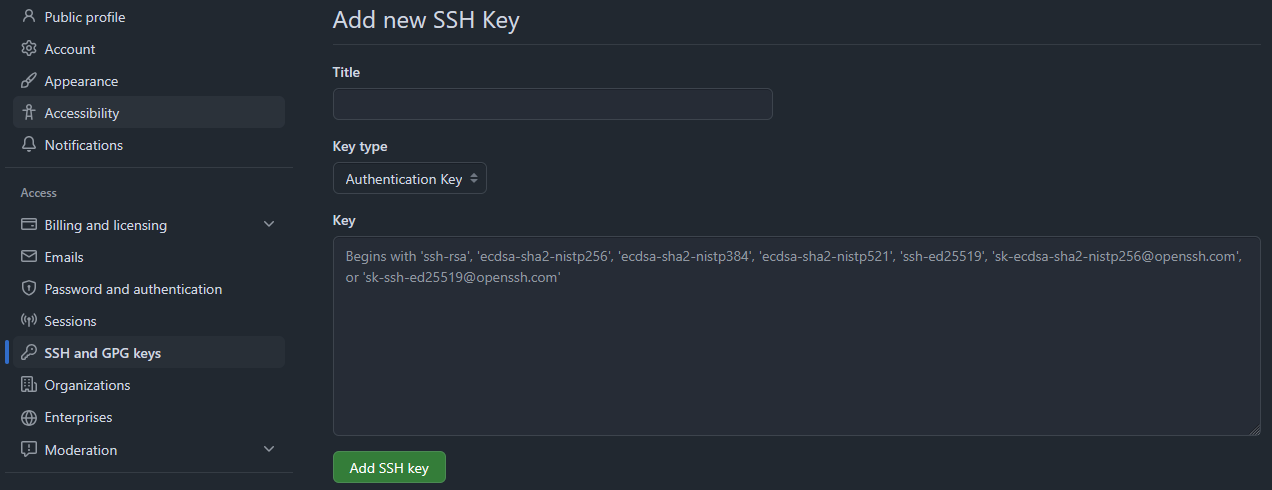
The next step needs the terminal again, so go back there and run cat id_ed25519_<friendlyname>.pub. The result should look like this:
ssh-ed25519 AAAAC3NzaC1lZDI1CDDF2W4AAIAkIkGj9dXHhGEJQ6IFoi2GGb5ef8WvdiXpzXVLdXrjw <username>@<pcname>
Copy this whole line, I mean the WHOLE line, and paste it into the box on the GitHub page labelled Key. Then click Add SSH key, there is no need to change anything else. If everything wored correctly, you should be sent back to the main SSH keys page with a message saying "You have successfully added the key".
This process is identical for GitLab, but with a few minor variations. Firstly, GitLab calls "Settings", "Preferences. It also has two pages in "Preferences" for "Keys", make sure you choose the one called "SSH keys".
The final thing to do is to test that the key actually works. Return to the terminal and run ssh git@github.com. You should get the following message if everything worked correctly:

The final thing to do is then to git clone your first repository. On GitHub (or your server of choice), find the SSH download link. This is hidden underneath a coloured button (Green on GitHub, Blue on GitLab). Copy this link.
Go back to the terminal and navigate to a directory in which you want to download the source code. Don't use the .ssh directory for this. cd somewhere else. Then run git clone <ssh download link>. You should now see a successful connection to the server, and the repository will start to download.
Success!!